Security: Delete Files and Erase Disks Securely

So, what happens when you move a file to the Trash and empty the Trash, it’s gone, right? Well not exactly.
In reality OS X is just marking the disk sectors as available to store new data. Until a new file overwites that location just about any hard drive recovery or forensic tool could recover that data.
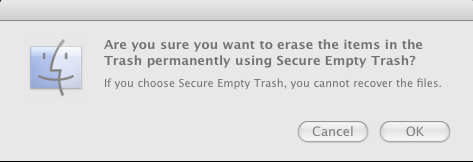
There are several ways to make sure deleted data stays deleted. One method is to use the Secure Empty Trash command. To use Secure Empty Trash, just select the option, which is directly under Empty Trash in the Finder menu. You will be presented with a warning dialog box to confirm.

Secure Empty Trash performs an overwrite of the disk sectors for the files being trashed.
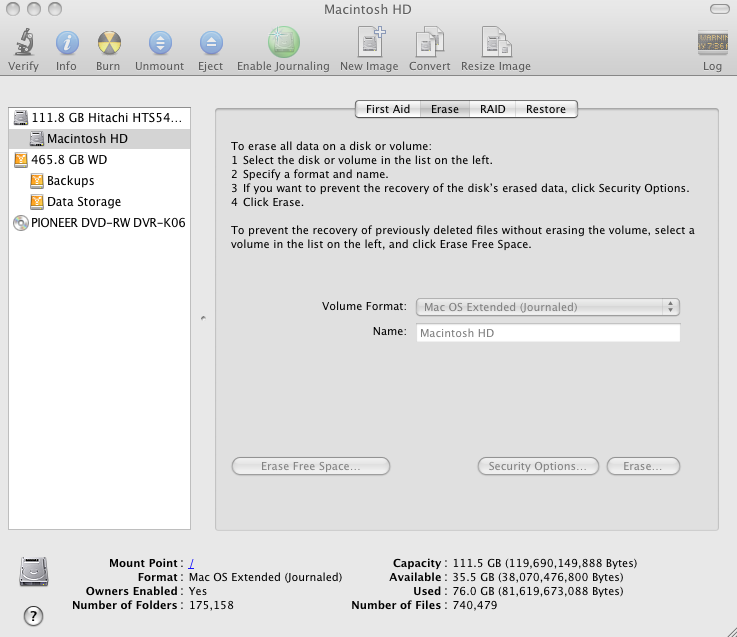
If you really want to make sure that the items can’t be recovered, Disk Utility provides a secure erase feature that will erase an entire disk or the free space of the disk, which include space where there was never any data and the space where files had existed before being deleted.

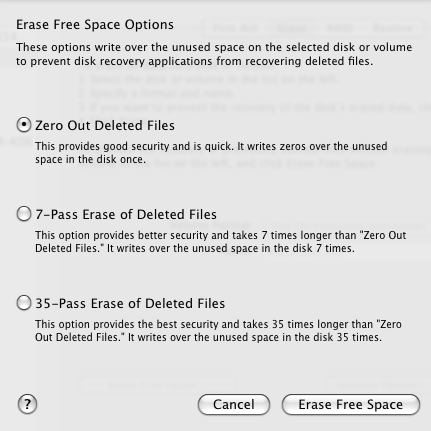
You can choose to securely erase data with a single pass of blank data, seven (7) passes or thity-five (35) passes. A seven-pass erase meets U.S. Department of Defense standards for data removal. To select the type of erase, click the Erase Free Space button to see the various options.

To erase an entire disk/volume, click the Security Options button, select the number of passes, and choose the disk format and name for the newly erased disk. Click Erase to start the process. Keep in mind that you cannot erase the system’s start-up disk. If you want to erase the start-up disk, you’ll have to book from another disk or the Mac OS X DVD.


