Security: Create Encrypted DMG Disk Images for Sensitive Data
File security and privacy is important for your sensitive data. The DMG disk image is a versatile tool that allows you to encrypt your data and enable password protection on a virtual disk image. This method allows for more versatility and portability than FileVaults methods of securing entire sections of your hard disk.
Quick Nav:
Step 1: Disk Utility
Open Disk Utility > Select File > New > Blank Disk Image…

Step 2: DMG Image Setup
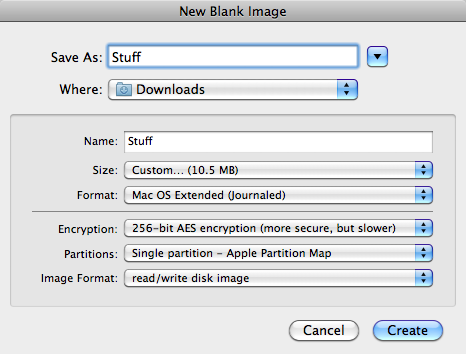
Enter the filename under Save As: and where to place the dmg image file.
Name: Give the file a Name, if its your sensative data then give it a generic name, such as “Stuff”.
Size: Select Custom Size and enter your desired file size, to keep Journaling you must enter 10.5MB or higher.
“Journaling” is a feature that helps protect the file system against power outages or hardware component failures, reducing the need for repairs.
Format: Select Mac OS Extended (Journaled).
Encryption: Select 256-bit AES encryption (more secure, but slower). Remember the goal here is to secure files.
Partitions: Select Single partition - Apple Partition Map
Image Format: Select read/write disk image, since we will need to add and remove files.
Step 3: Enter Secure Password
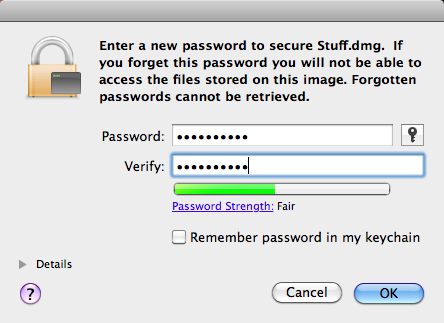
Type in your desired password, security is the goal here. To get a better password rating, combine multiple passwords, or even spaces.
Step 4: Using the Secure DMG Image
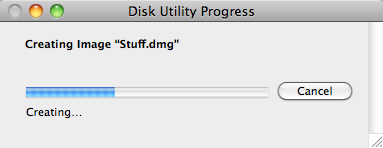
Note: After creation it will auto mount the image.
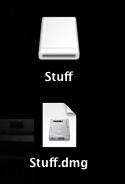
Otherwise, Double Click the Stuff.dmg and it will mount the dmg file as seen above.
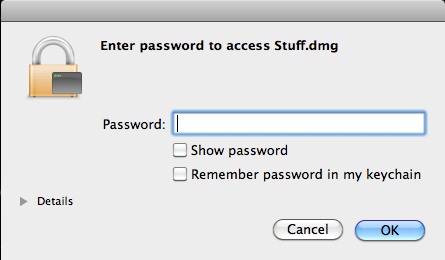
You will be promoted for your password. DO NOT check Remember password in my keychain.
Step 5: Use with Files
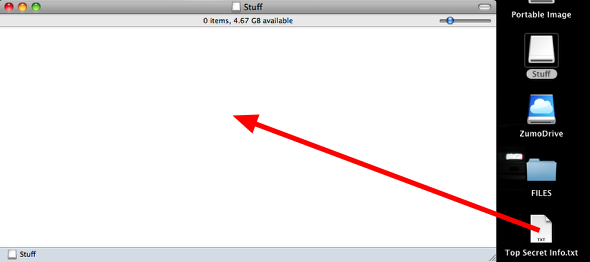
You can now use the volume as a normal drive - saving, creating, opening, and copying files to it. Remember the size is fixed, so you might want to create multiple dmg’s for different items.
Once done with the mounted dmg right click and select Eject. The next time you open the dmg you will be promoted for your password. Enjoy!


2 Comments