How-To: Storing Files On a “Secure” USB Flash Drive
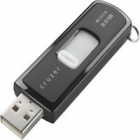
If you use USB flash drives to store and transport files there’s always a concern if those files carry personal or confidential information and you lose the flash drive. Well, there’s a simple way to protect those files and information should you lose the USB flash drive.
There are numerous ways to encrypt and protect files on a USB flash drive using either specifically purposed drives, such as IronPort, or encryption software; but if you want a simple method, that won’t cost you anything, then all you need to use is OS X’s built-in encryption.
To get started, using Disk Utility, make sure the drive is Mac OS formatted. Almost all USB flash drives you purchase will be pre-formatted for Windows, so you’ll probably need to reformat.
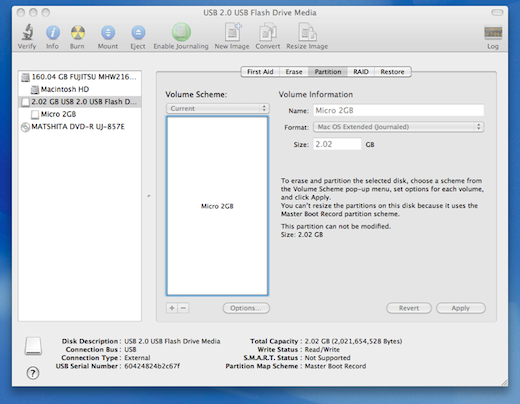
Once formatted, while still in Disk Utility, create a disk image by choosing File > New > Blank Disk Image
Select a size less than the capacity of the USB flash drive, then select the desired Encryption method. As the pull-down menu states, 256-bit AES is the most secure, but will take considerably longer to initially encrypt.
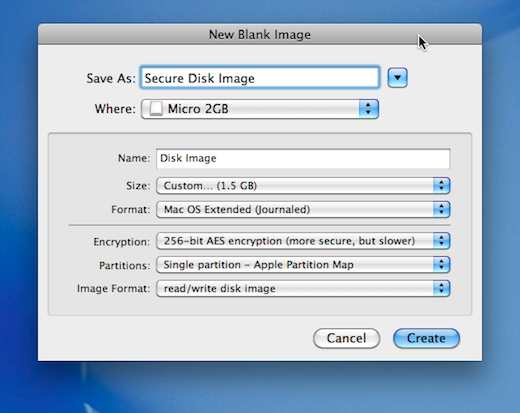
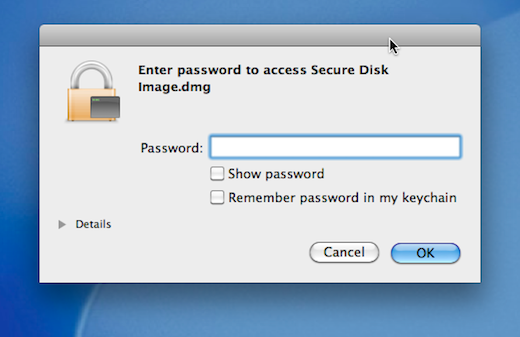
Once you click Create, you will be prompted for a password. Provide the password. Be sure to remember it, otherwise you won’t be able to access the files in the image in the future.
Once completed, open the disk image (Secure Disk Image) and you can then store your files as necessary.
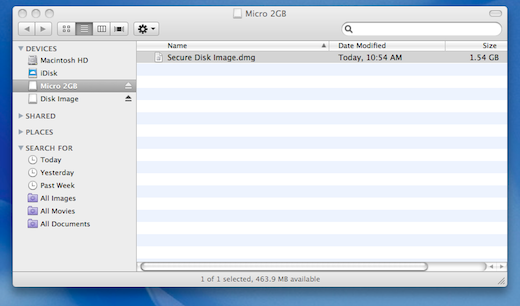
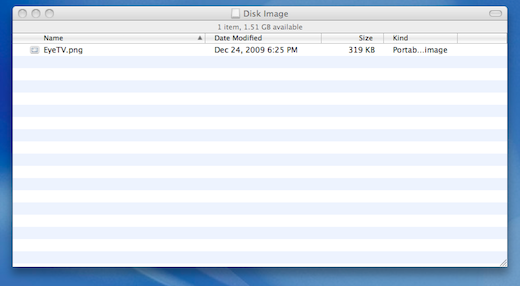
Once completed, eject the disk image by Right-clicking and selecting Eject
Now, you will only be able to access the encrypted disk image by using the password you provided.


One Comment